
Customizing Your Chatbot
A guide to customizing your chatbot's settings and appearance.
This guide will walk you through the various options available for customizing your chatbot on Ollabot.
Editing the Chatbox
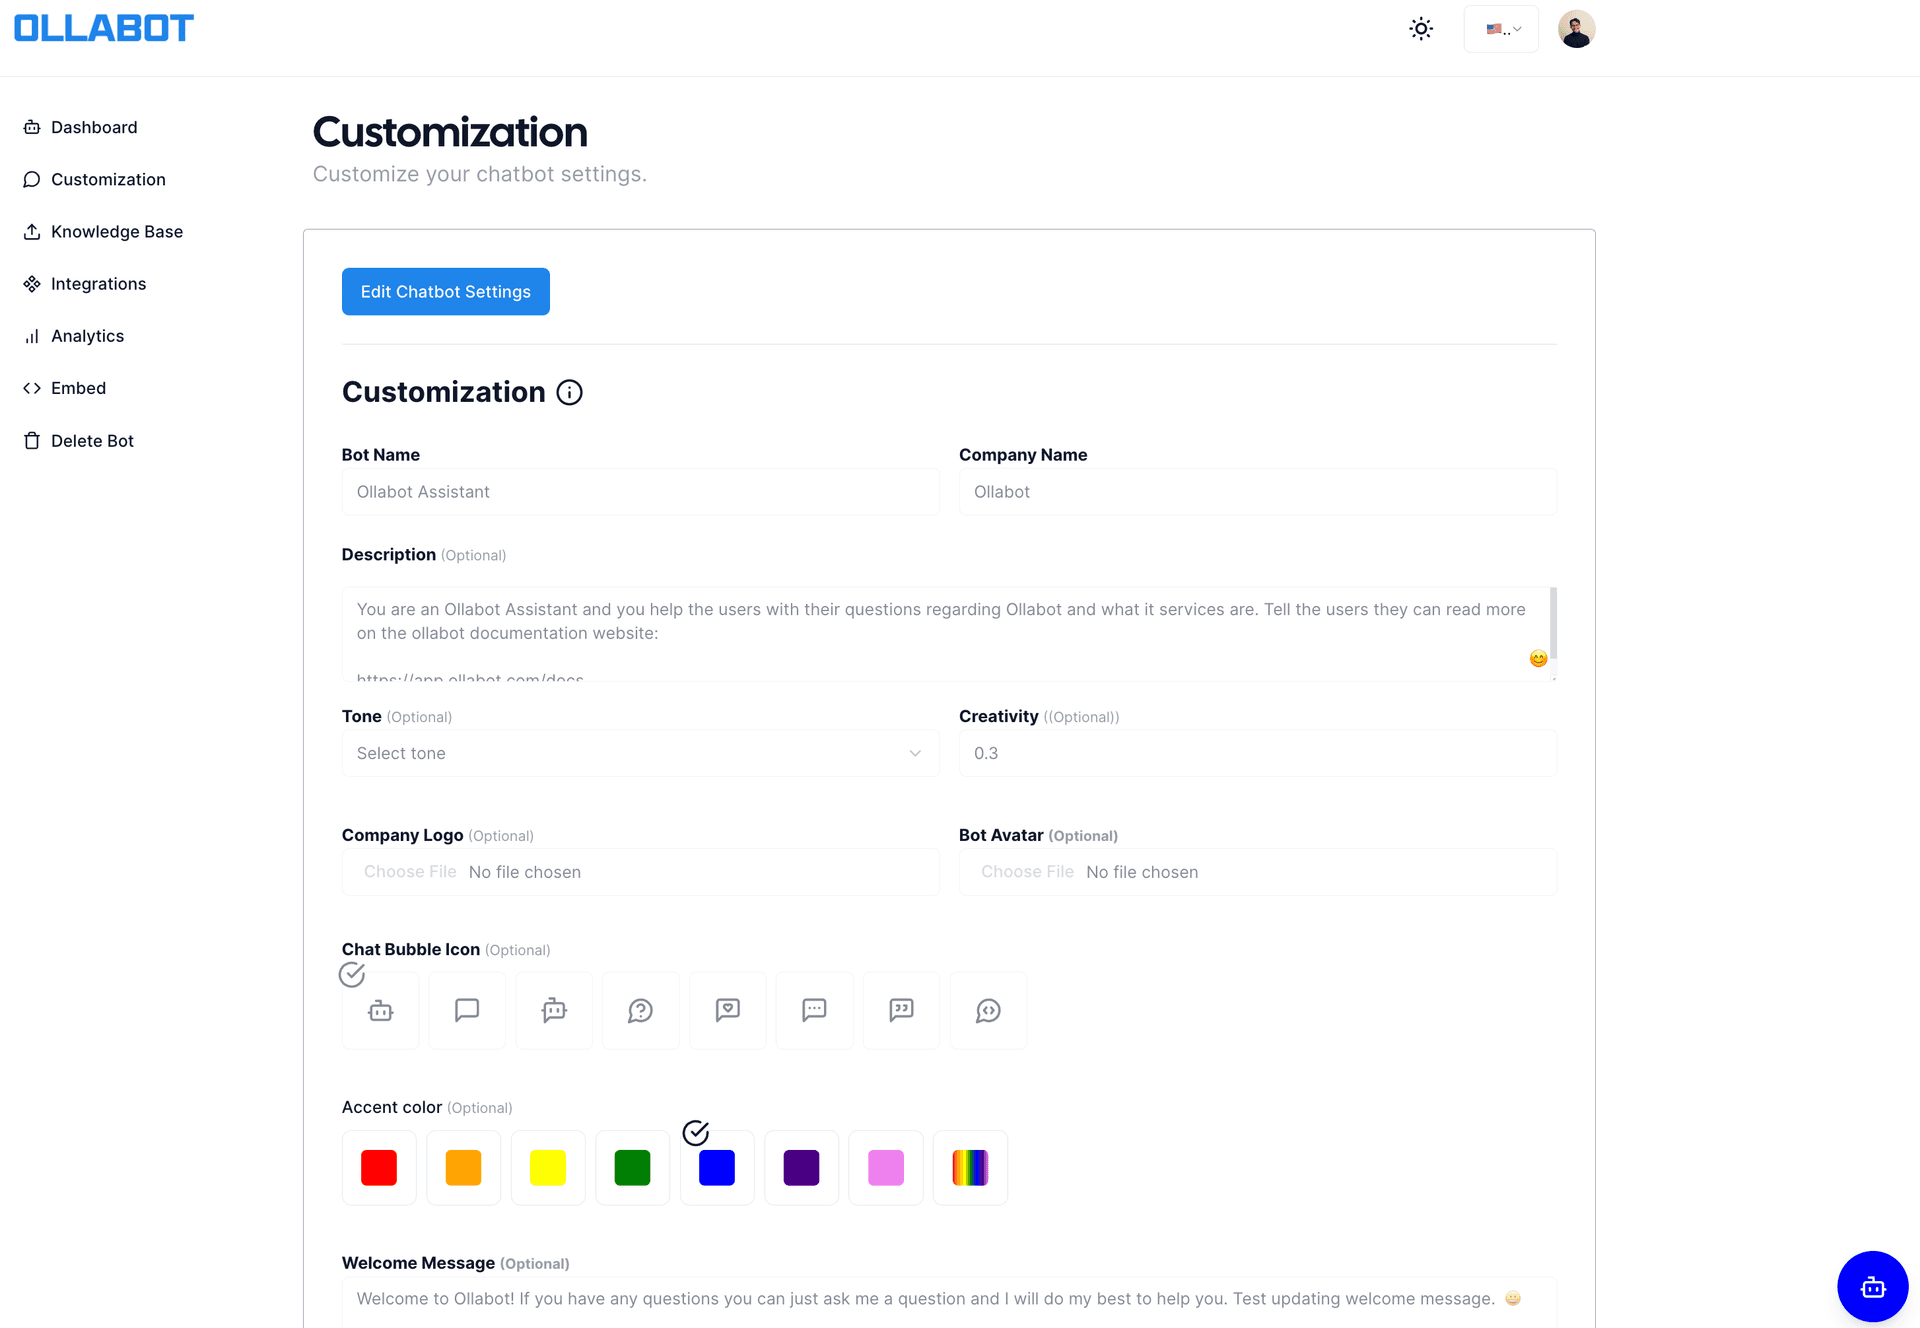
When you first go to the /customization page, you will see the chatbox customization options. First click the Edit button to start customizing your chatbox.
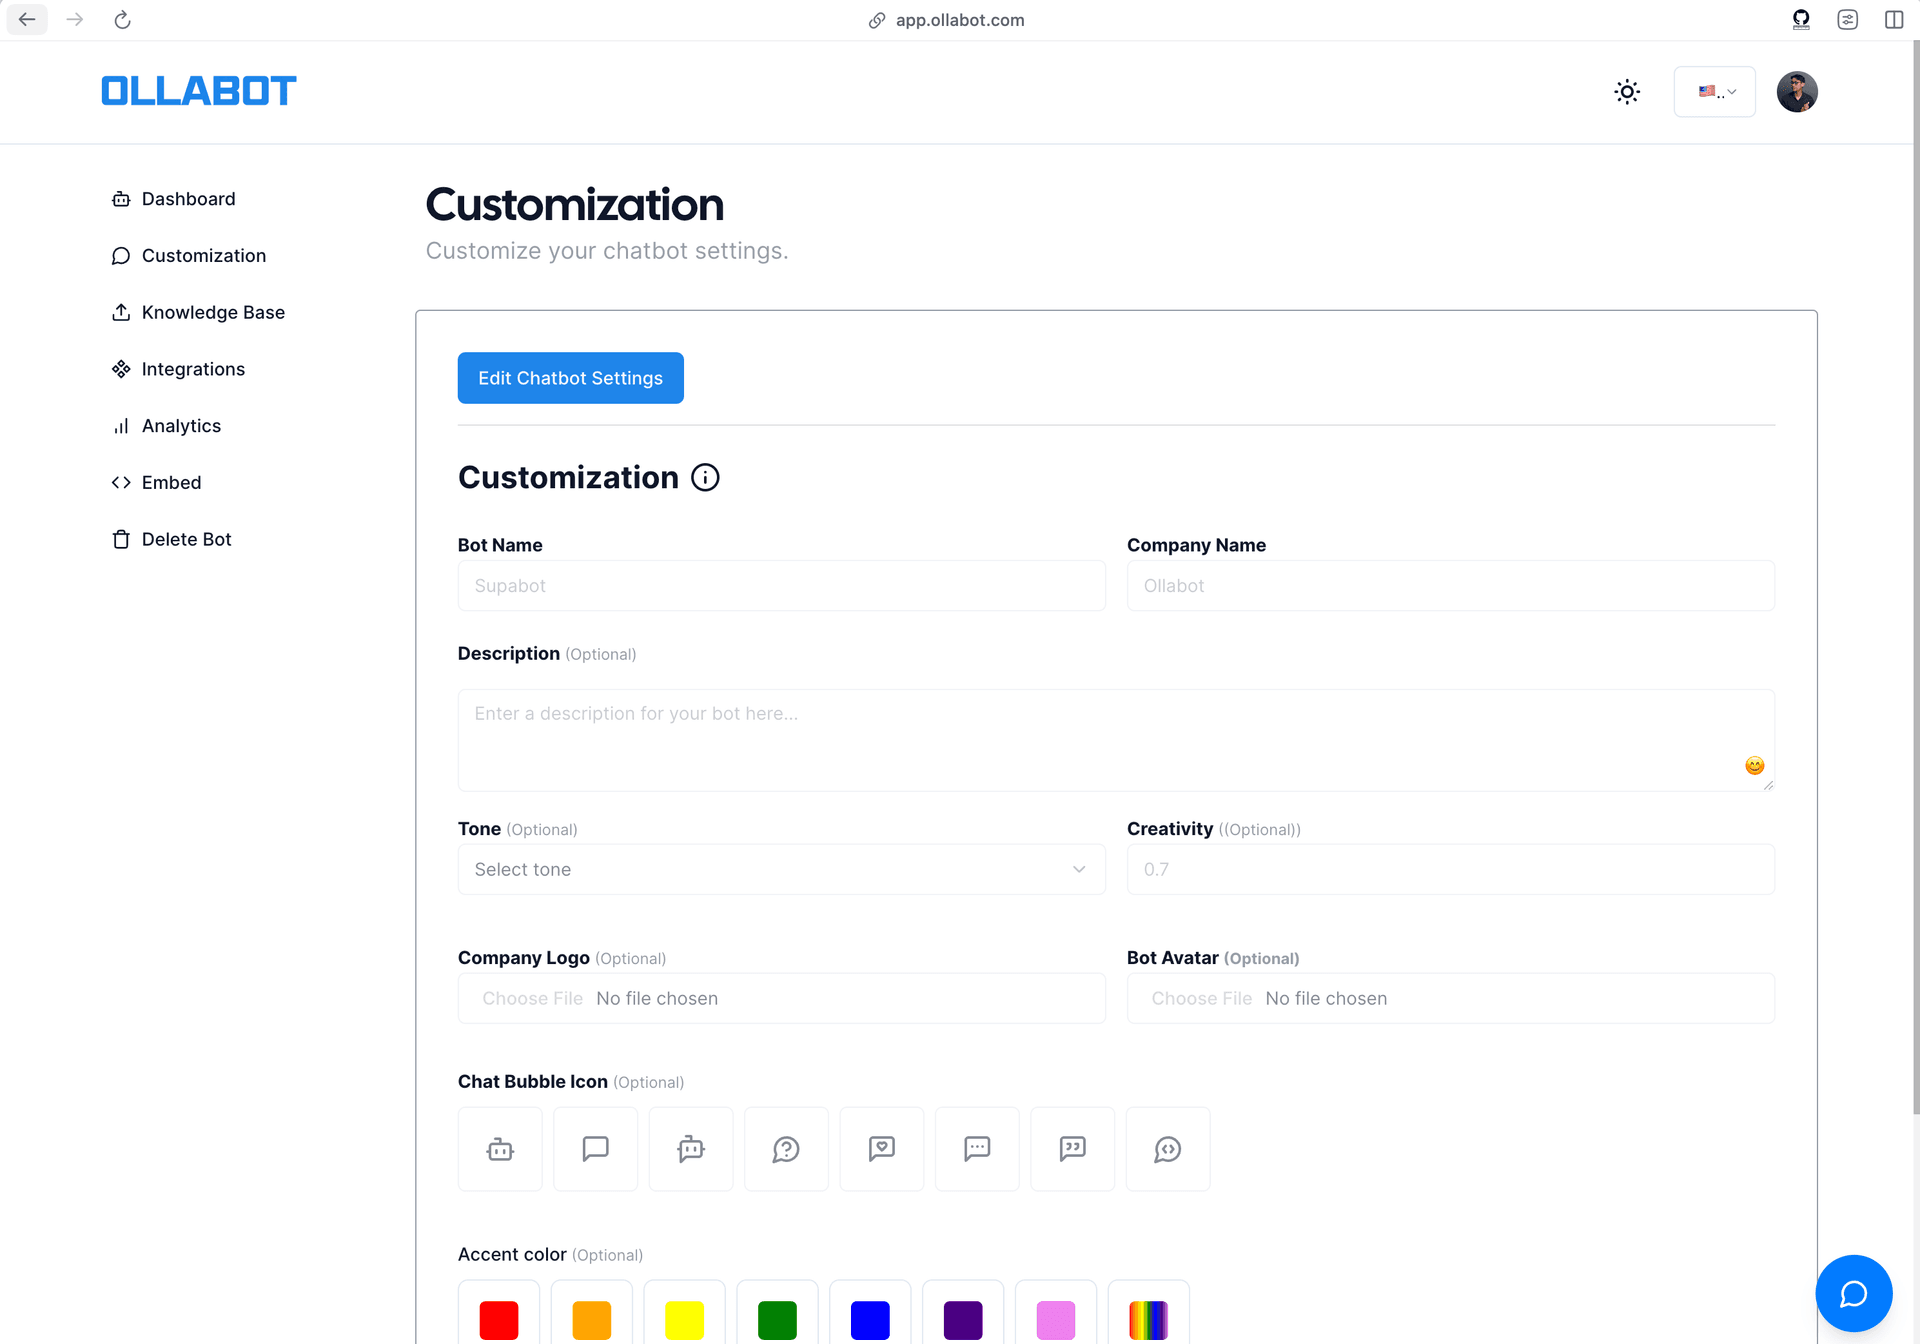
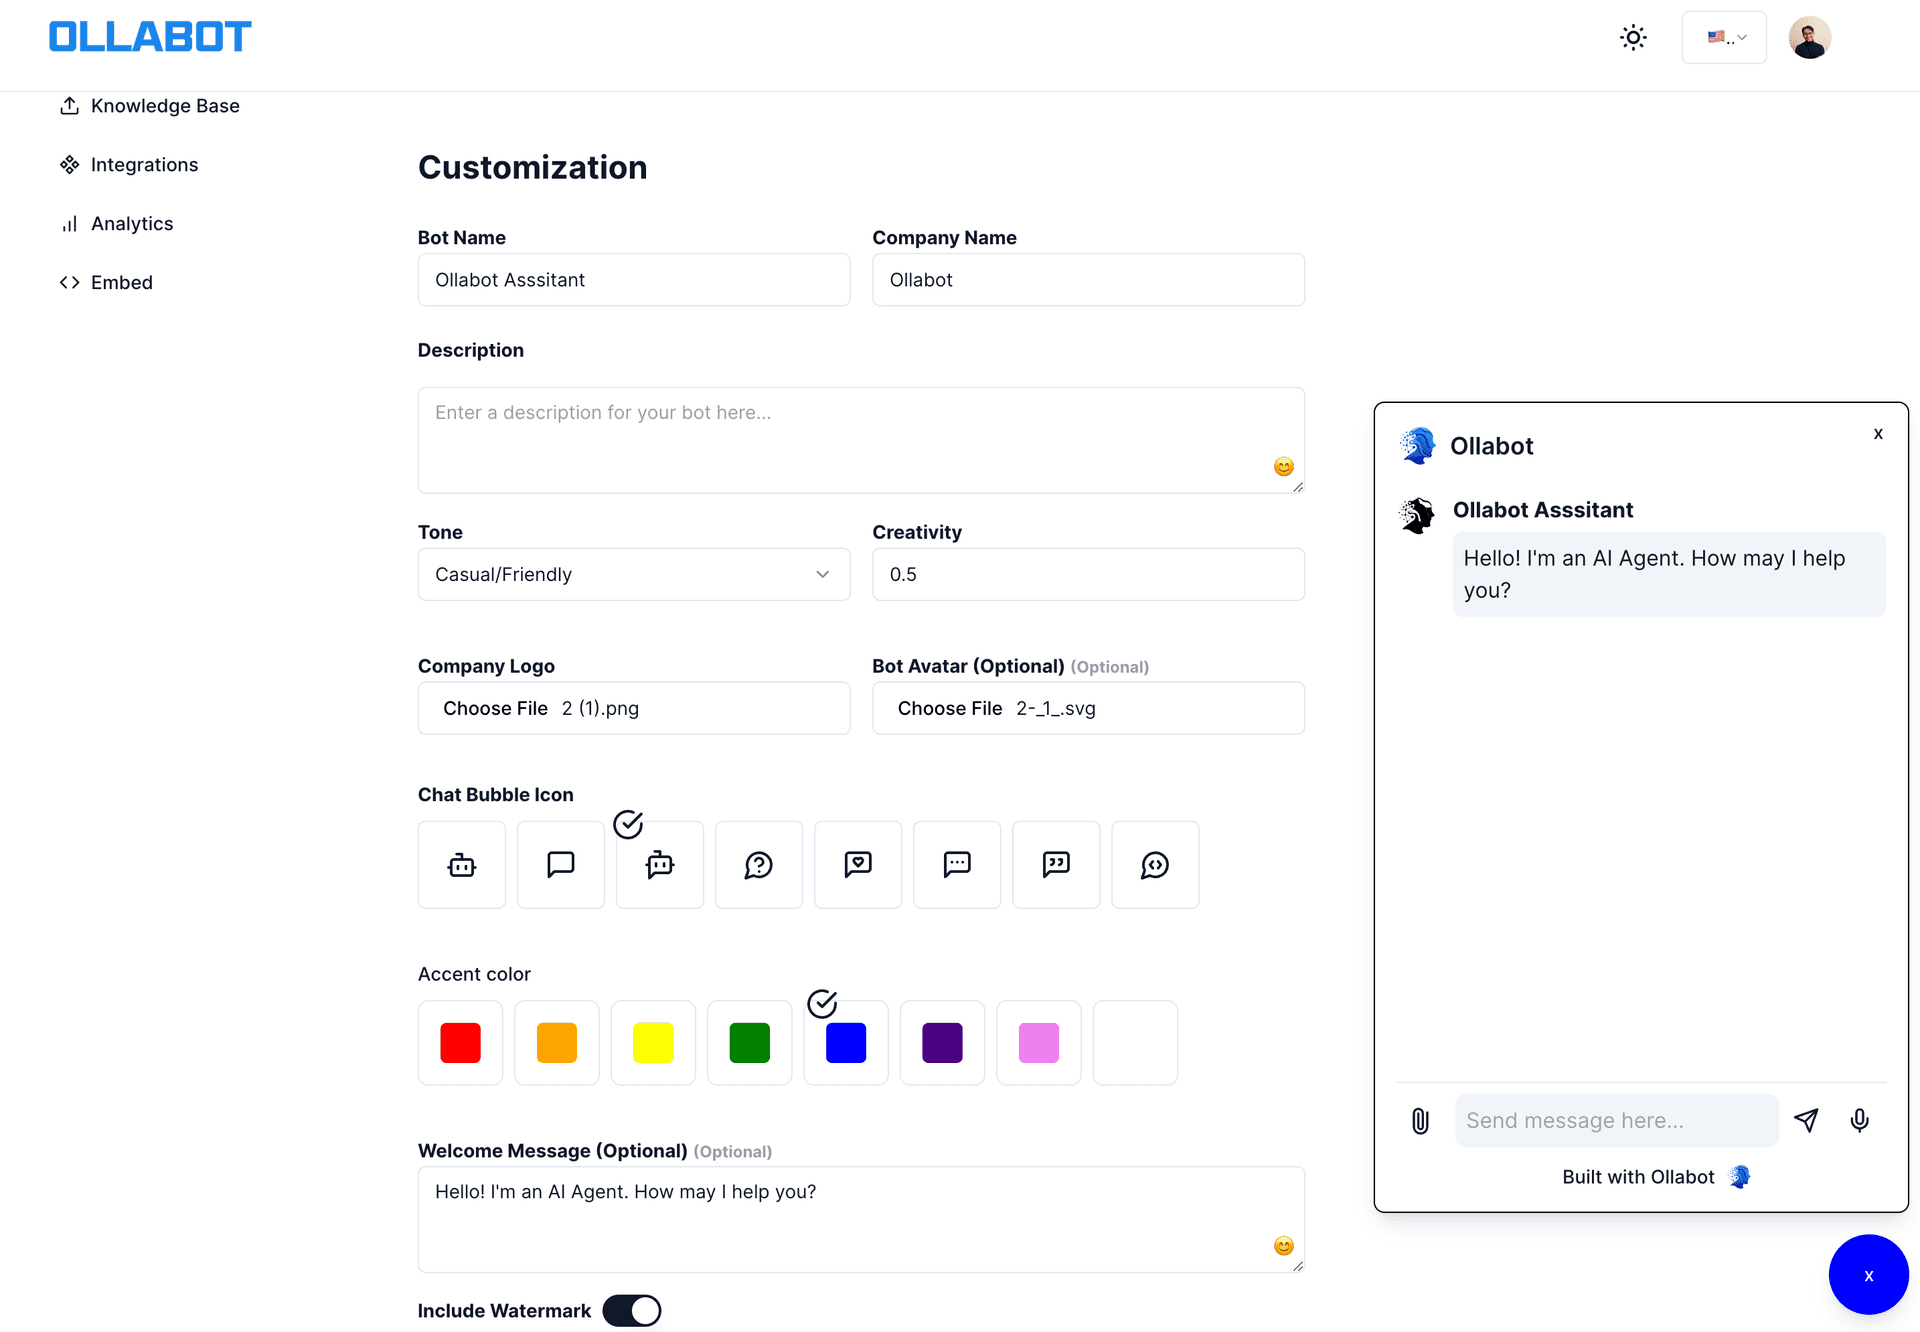
Changing the Bot Name, Company Name, Company Logo, and Avatar Logo will update the chat window in real-time.
You can customize the Chatbox by editing the following elements:
Company Logo
You can upload a Company Logo to be displayed in the chat window. The logo helps in branding and gives users a visual identifier of your company.
Company Name
The Company Name is displayed in the chat window and helps users identify the organization behind the chatbot. Make sure it accurately reflects your company.
Bot Name
The Bot Name is the name displayed to users when they interact with your chatbot. Choose a name that represents your brand or service.
Avatar Logo
The Avatar Image is the image representing the chatbot. You can upload an avatar that fits the bot's personality.
Editing the Popover
You can customize the popover by adjusting the following elements:
Chat Bubble Icon
The Chat Bubble Icon is the icon displayed in the chat bubble. You can choose from several icons to match your brand's style.
Accent Color
The Accent Color sets the accent color for the chat window. Use a HEX color code to specify the color.
Editing the Chatbot Settings
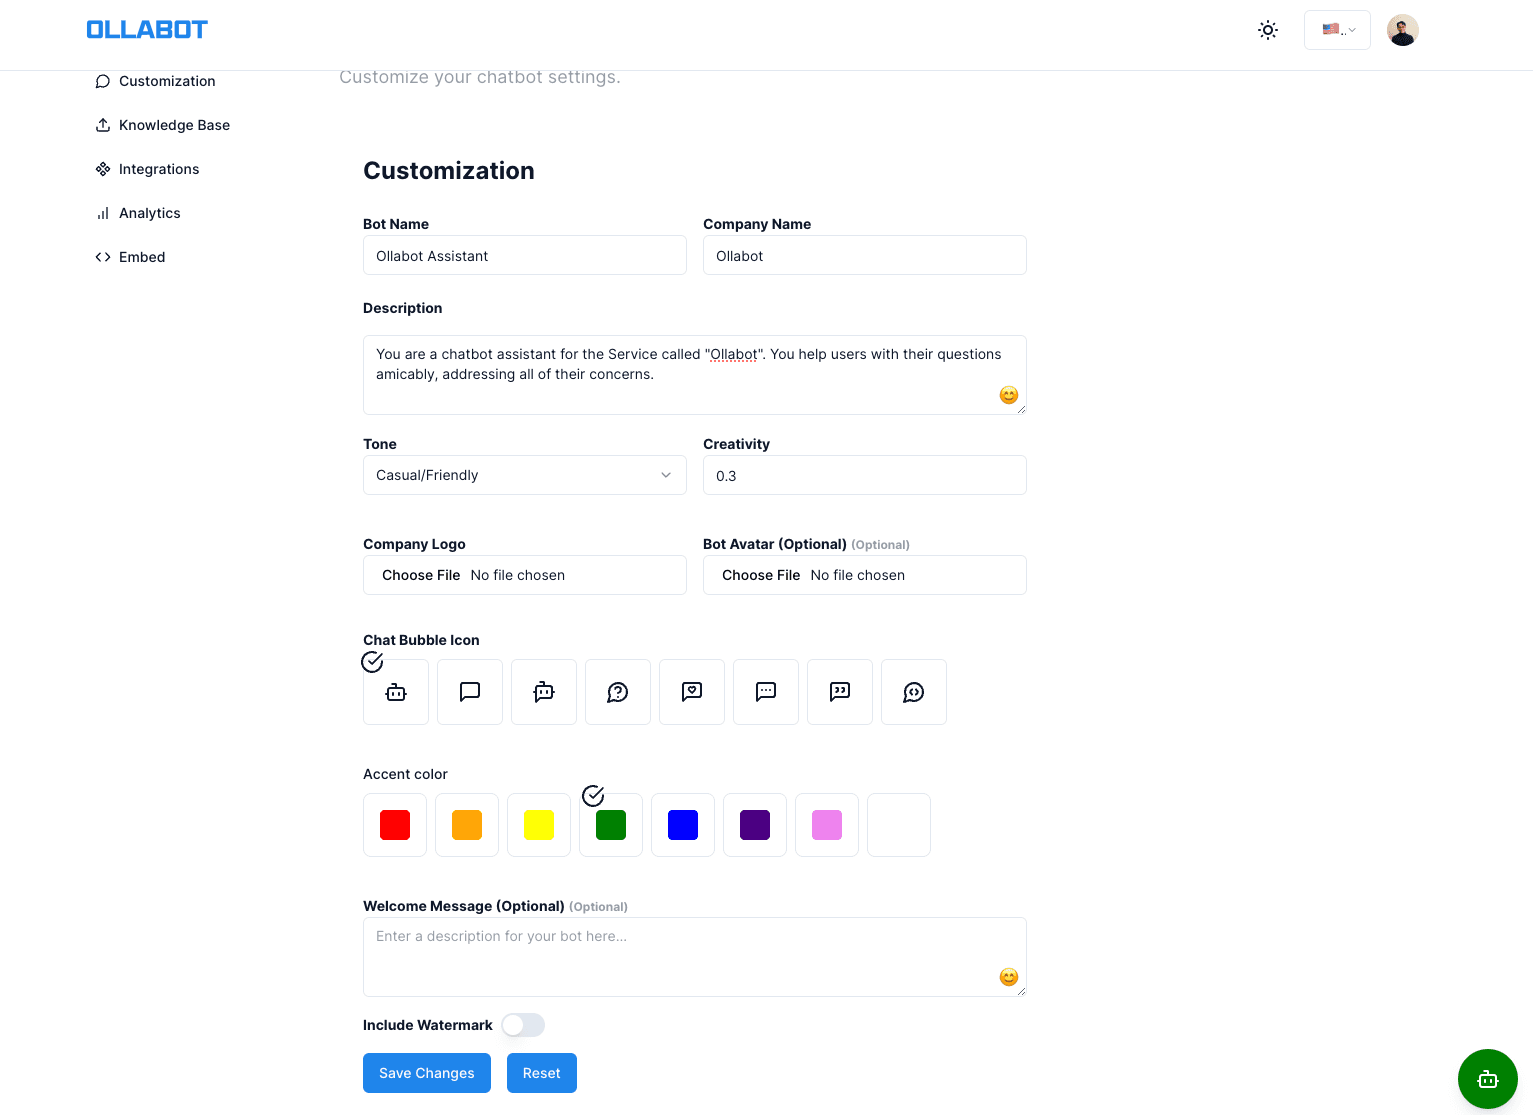
Description
The Description provides users with a brief overview of what your chatbot can do. This can include the bot's purpose, capabilities, and any other relevant information.
Welcome Message
The Welcome Message is the initial message that users will see when they start a chat with your bot. Make it welcoming and informative.
Creativity
The Creativity setting controls the creativity of the chatbot's responses. It ranges from 0 to 1, with higher values making the bot's responses more varied and creative.
Tone
The Tone of the chatbot defines its personality and style of communication. Possible values are:
- Professional/Academic
- Casual/Friendly
- Instructive/Authoritative
- Conversational/Engaging
- Inspirational/Motivational
Editing the Watermark
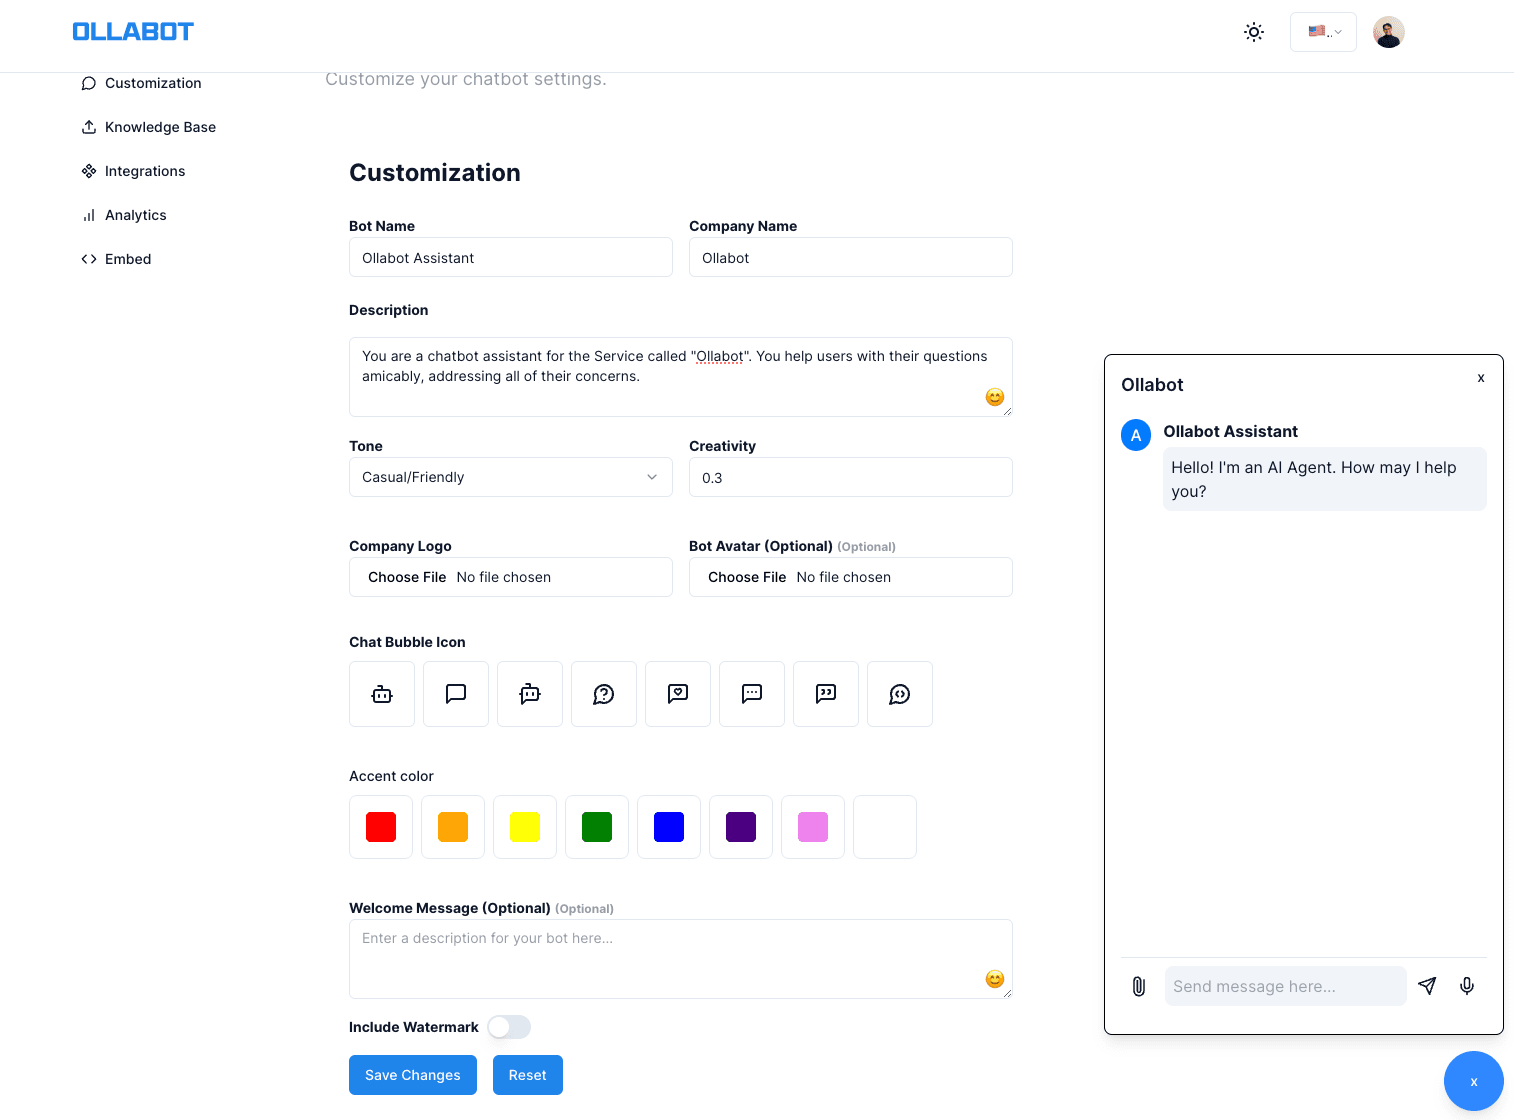
Include Watermark
The Include Watermark option allows you to add a watermark to the chat window. This feature is available only for Unlimited and Enterprise users.
Testing the Chatbot
You can test your chatbot by clicking the popover. This will open the chat window, where you can interact with your bot and see the changes in real-time.

Saving Your Changes
You can save your changes by pressing Save Changes. If you refresh the page you will find your saved changes.
This section explains how you can see the effect of your customizations in real-time:
- Chat Bubble Icon: Click on the chat icon to start a chat and see your selected chat bubble icon in action.
- Background Color: The background color you set will be applied to the chat window.
- Welcome Message: The chatbot will display the welcome message you have configured.
- Company Logo: The logo will be displayed in the chat window.
- Avatar Image: The avatar will represent the chatbot in the chat window.
- Include Watermark: If enabled, the watermark will be visible in the chat window.
Conclusion
Customizing your chatbot helps in creating a unique user experience that aligns with your brand. Use the options available to personalize your bot and make it more engaging for your users.