
Creating Your Chatbot with Ollabot
A comprehensive guide to creating and customizing your chatbot using Ollabot.
This guide will walk you through the steps to create a chatbot using Ollabot and the various options available to customize its settings and appearance.
Step 1: Sign Up and Log In
Start by visiting Ollabot and signing up for an account. If you already have an account, simply log in.
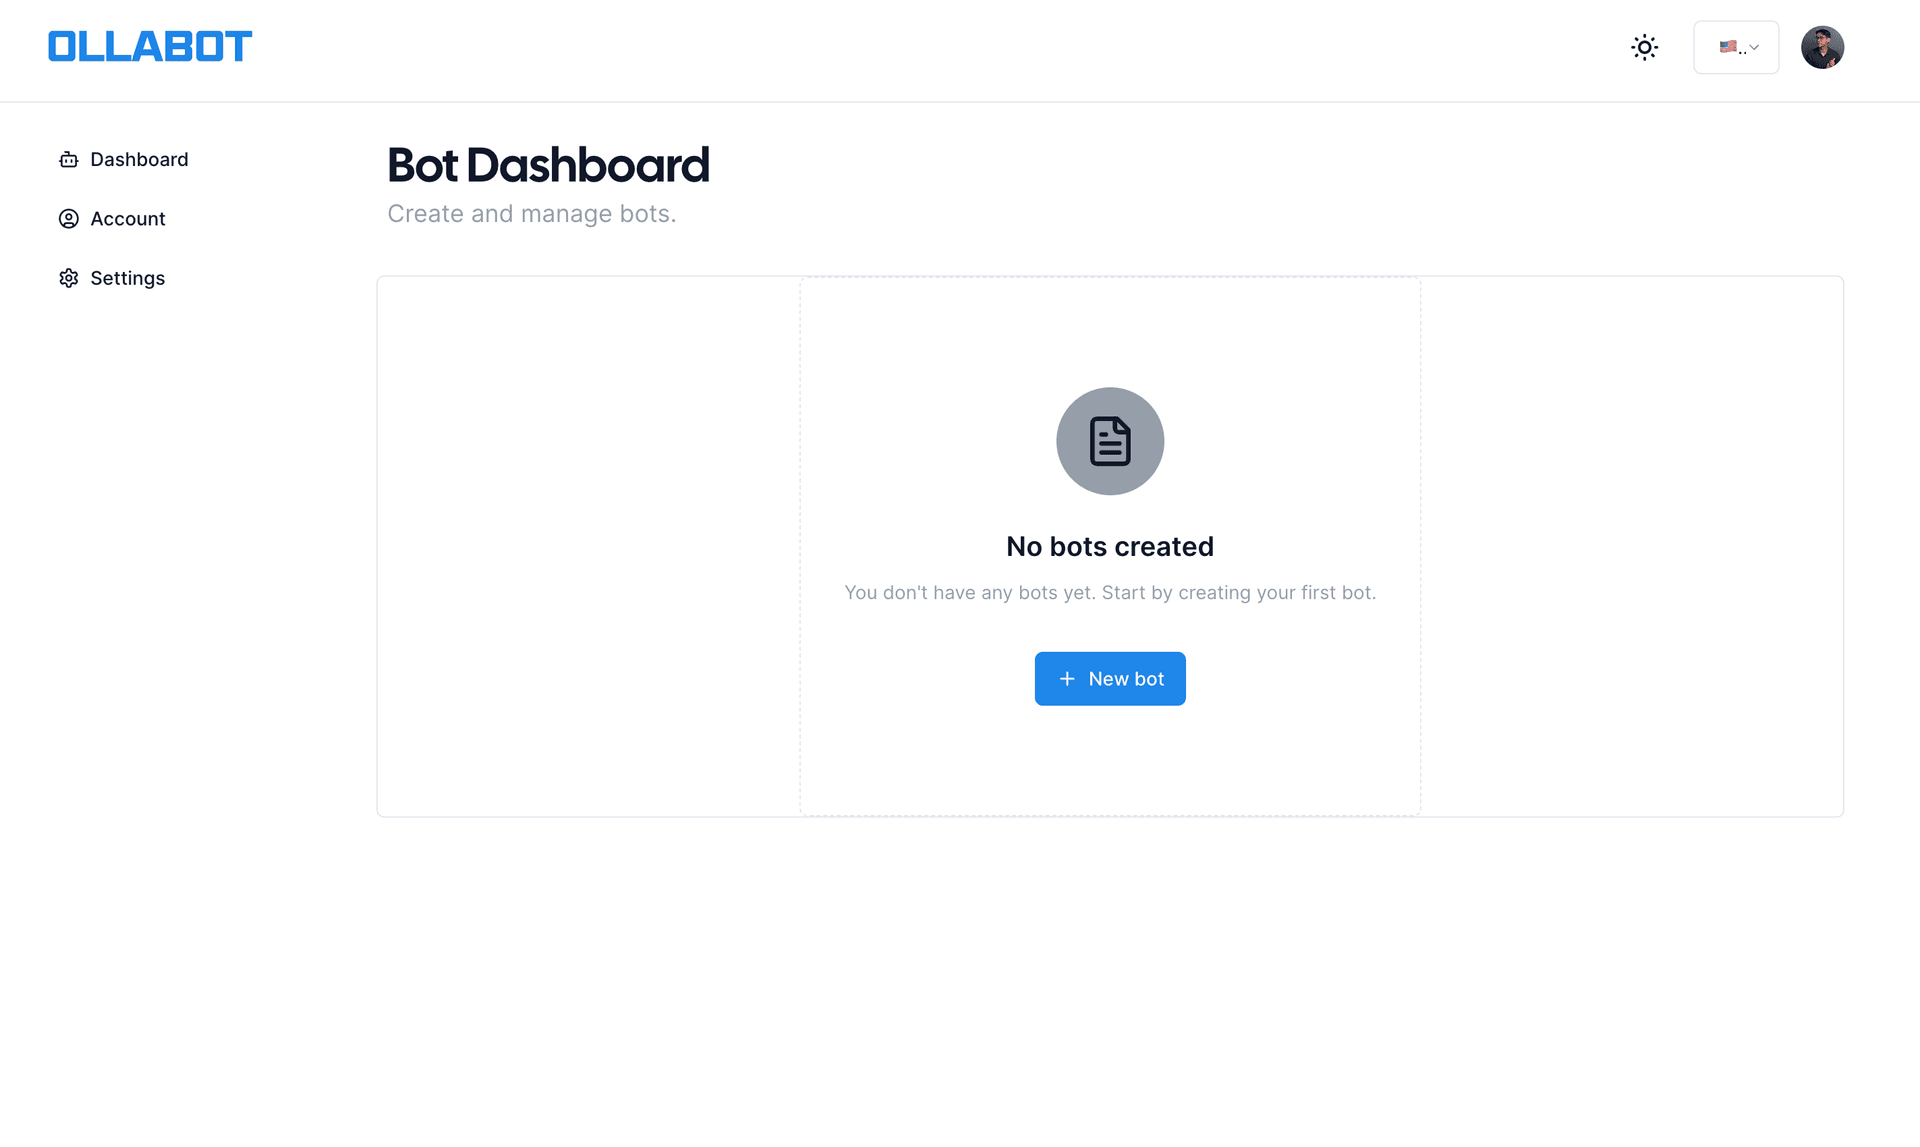
Step 2: Create a New Bot
Once logged in, navigate to your dashboard and click on the "Create New Bot" button.
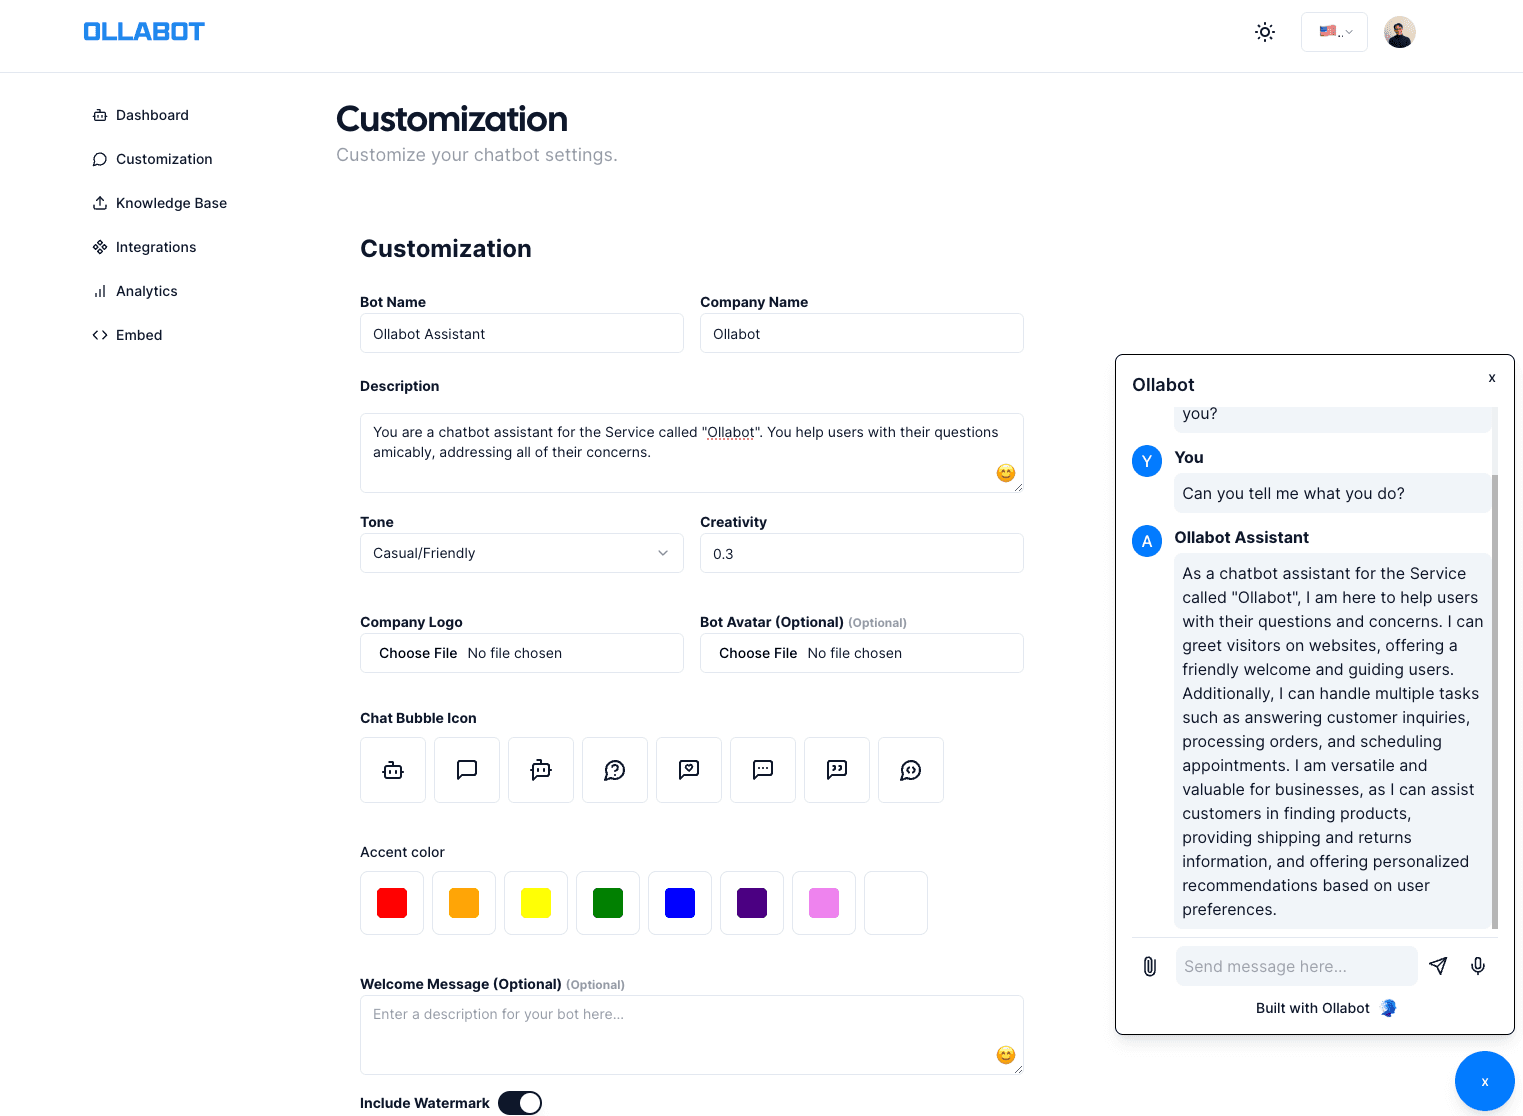
Step 3: Configure Basic Settings
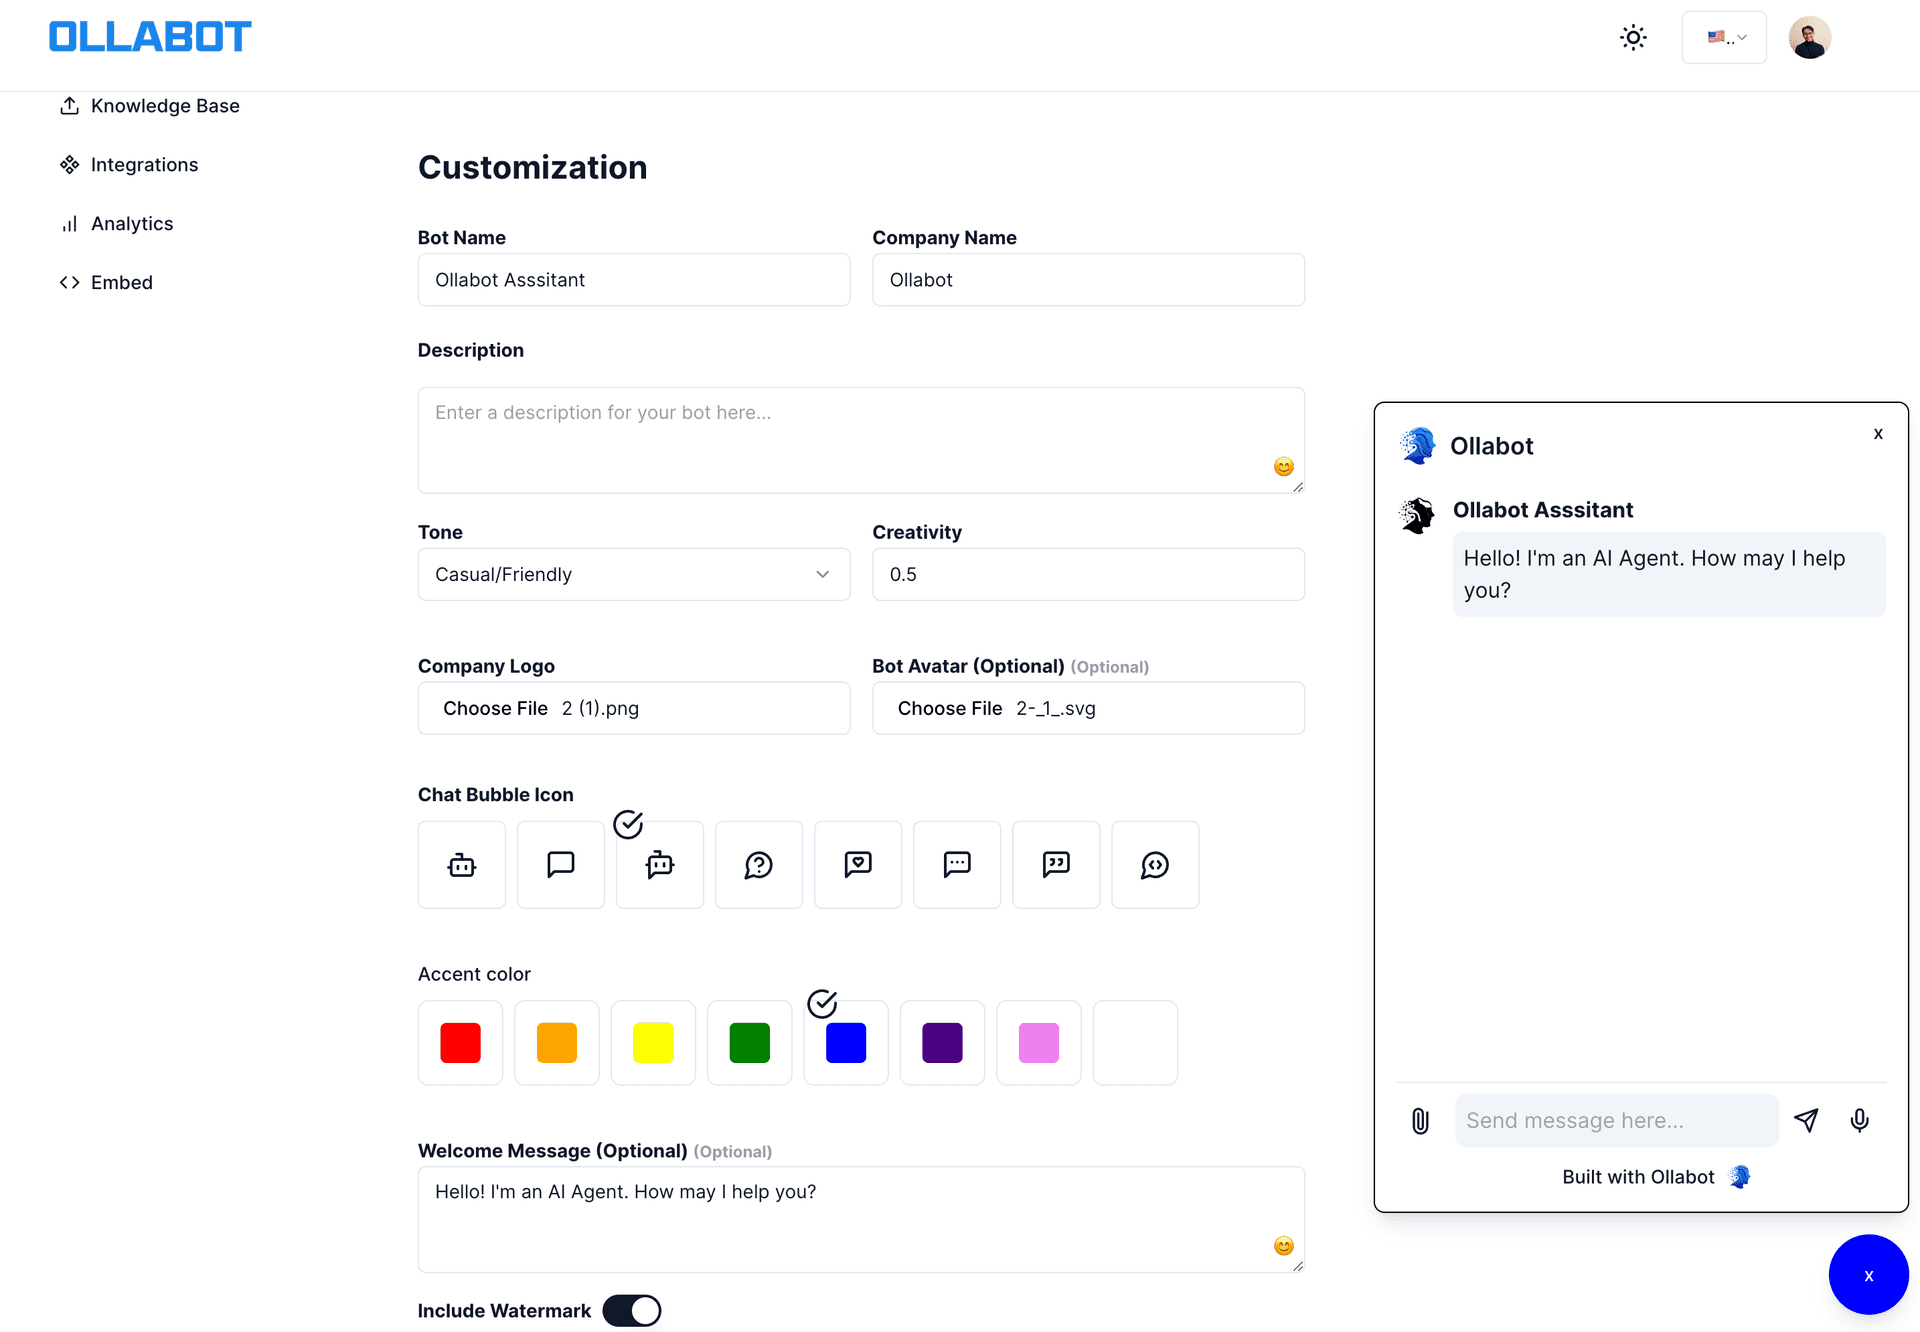
Bot Name
Enter a name for your chatbot that represents your brand or service.
Company Name
Enter the name of your company. This will be displayed in the chat window to help users identify the organization behind the chatbot.
Description
Provide a brief overview of what your chatbot can do. This description will help users understand the bot's purpose and capabilities.
Step 4: Customize the Chatbox
Company Logo
You can upload a company logo to be displayed in the chat window. The logo helps in branding and gives users a visual identifier of your company.
Avatar Image
Upload an avatar image that represents the chatbot. This can be an image that fits the bot's personality.
Chat Bubble Icon
Choose a chat bubble icon from the available options to match your brand's style.
Accent Color
Set the accent color for the chat window using a HEX color code. This will help in aligning the chatbot's appearance with your brand's theme.
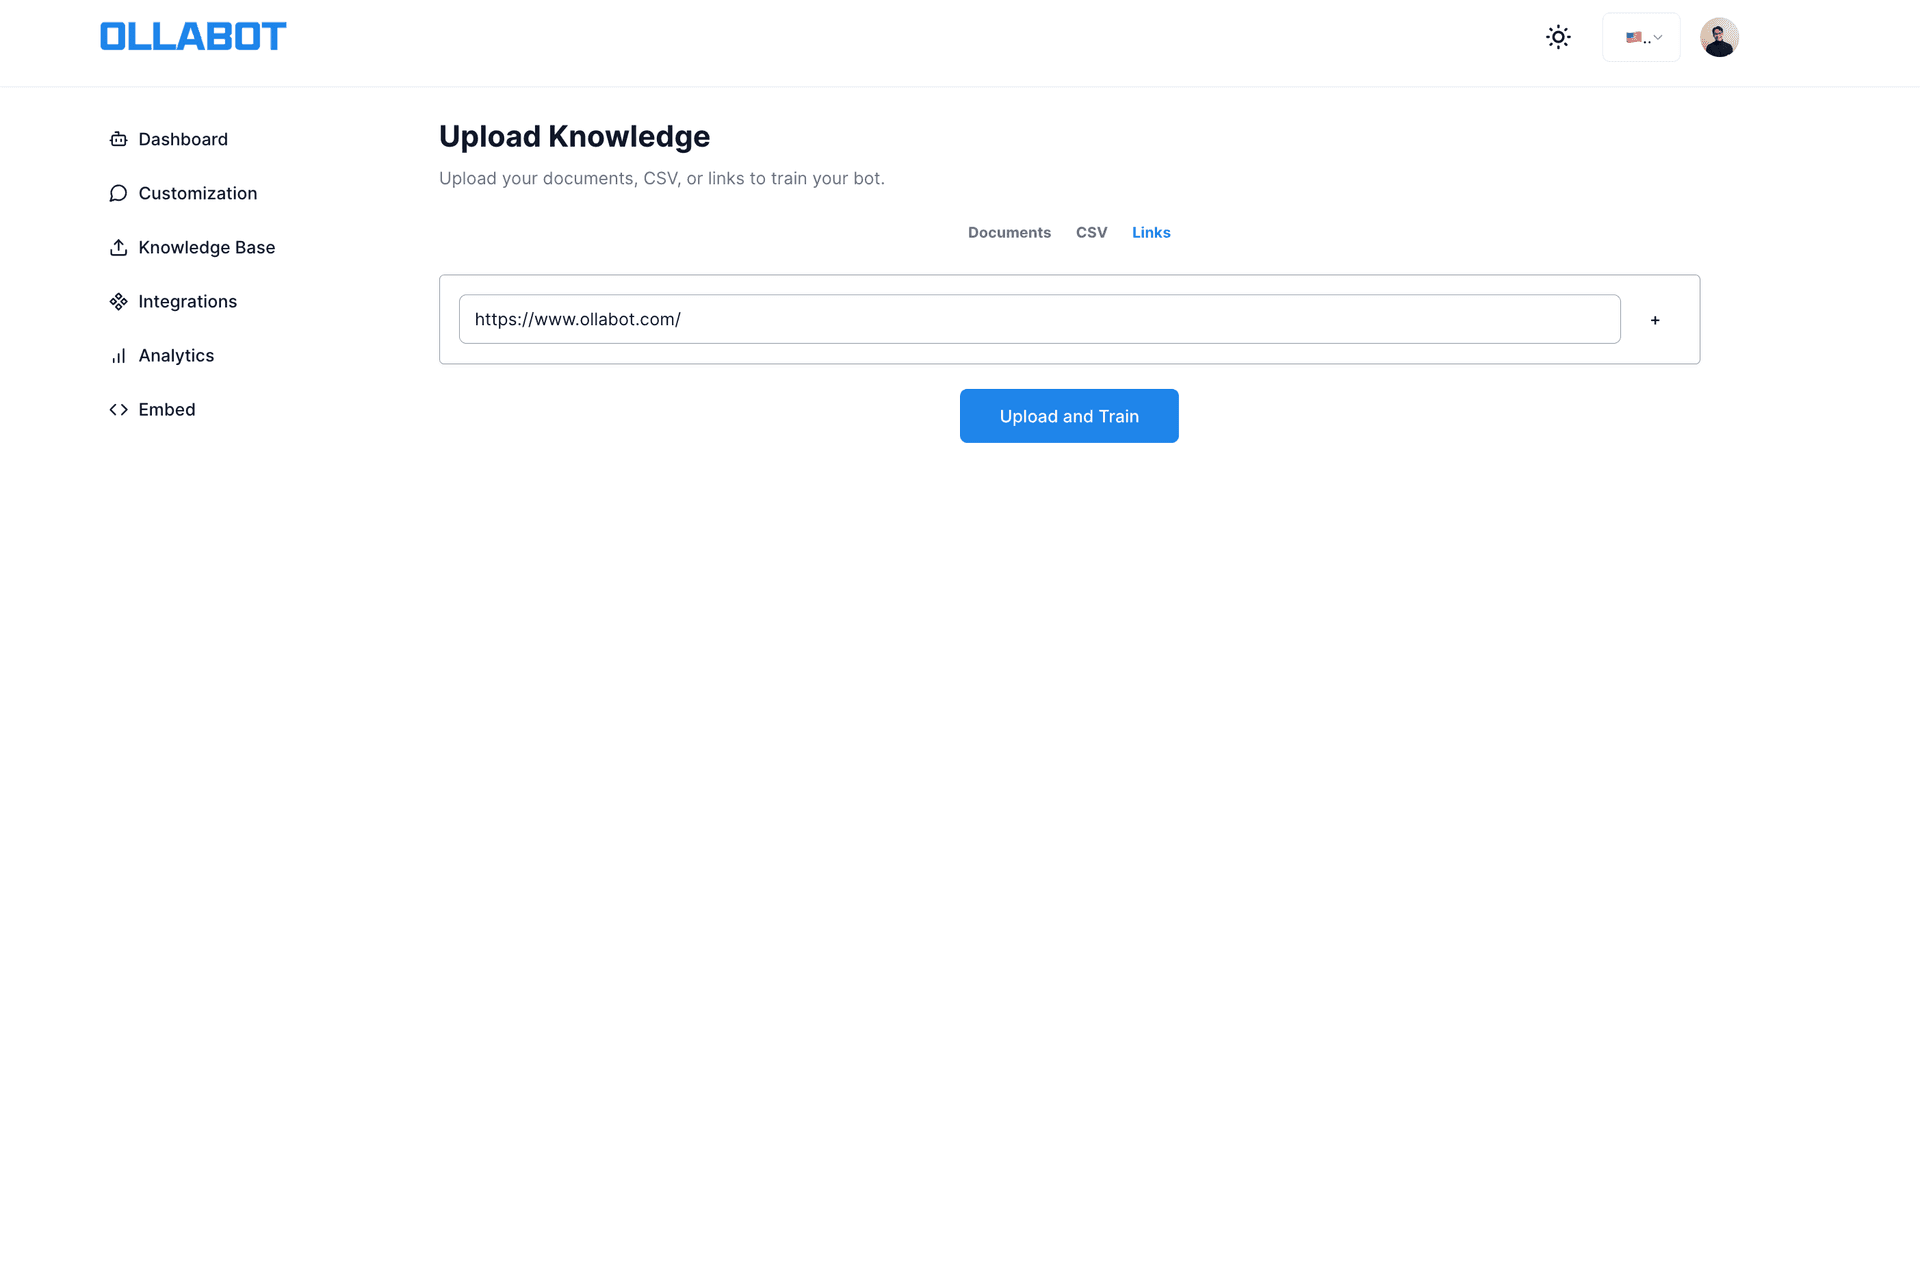
Step 5: Add Knowledge Sources
Upload Files
You can upload files that contain information your bot needs to know. This can include PDFs, text files, and more. Navigate to the "Knowledge Base" section and click "Upload Files."
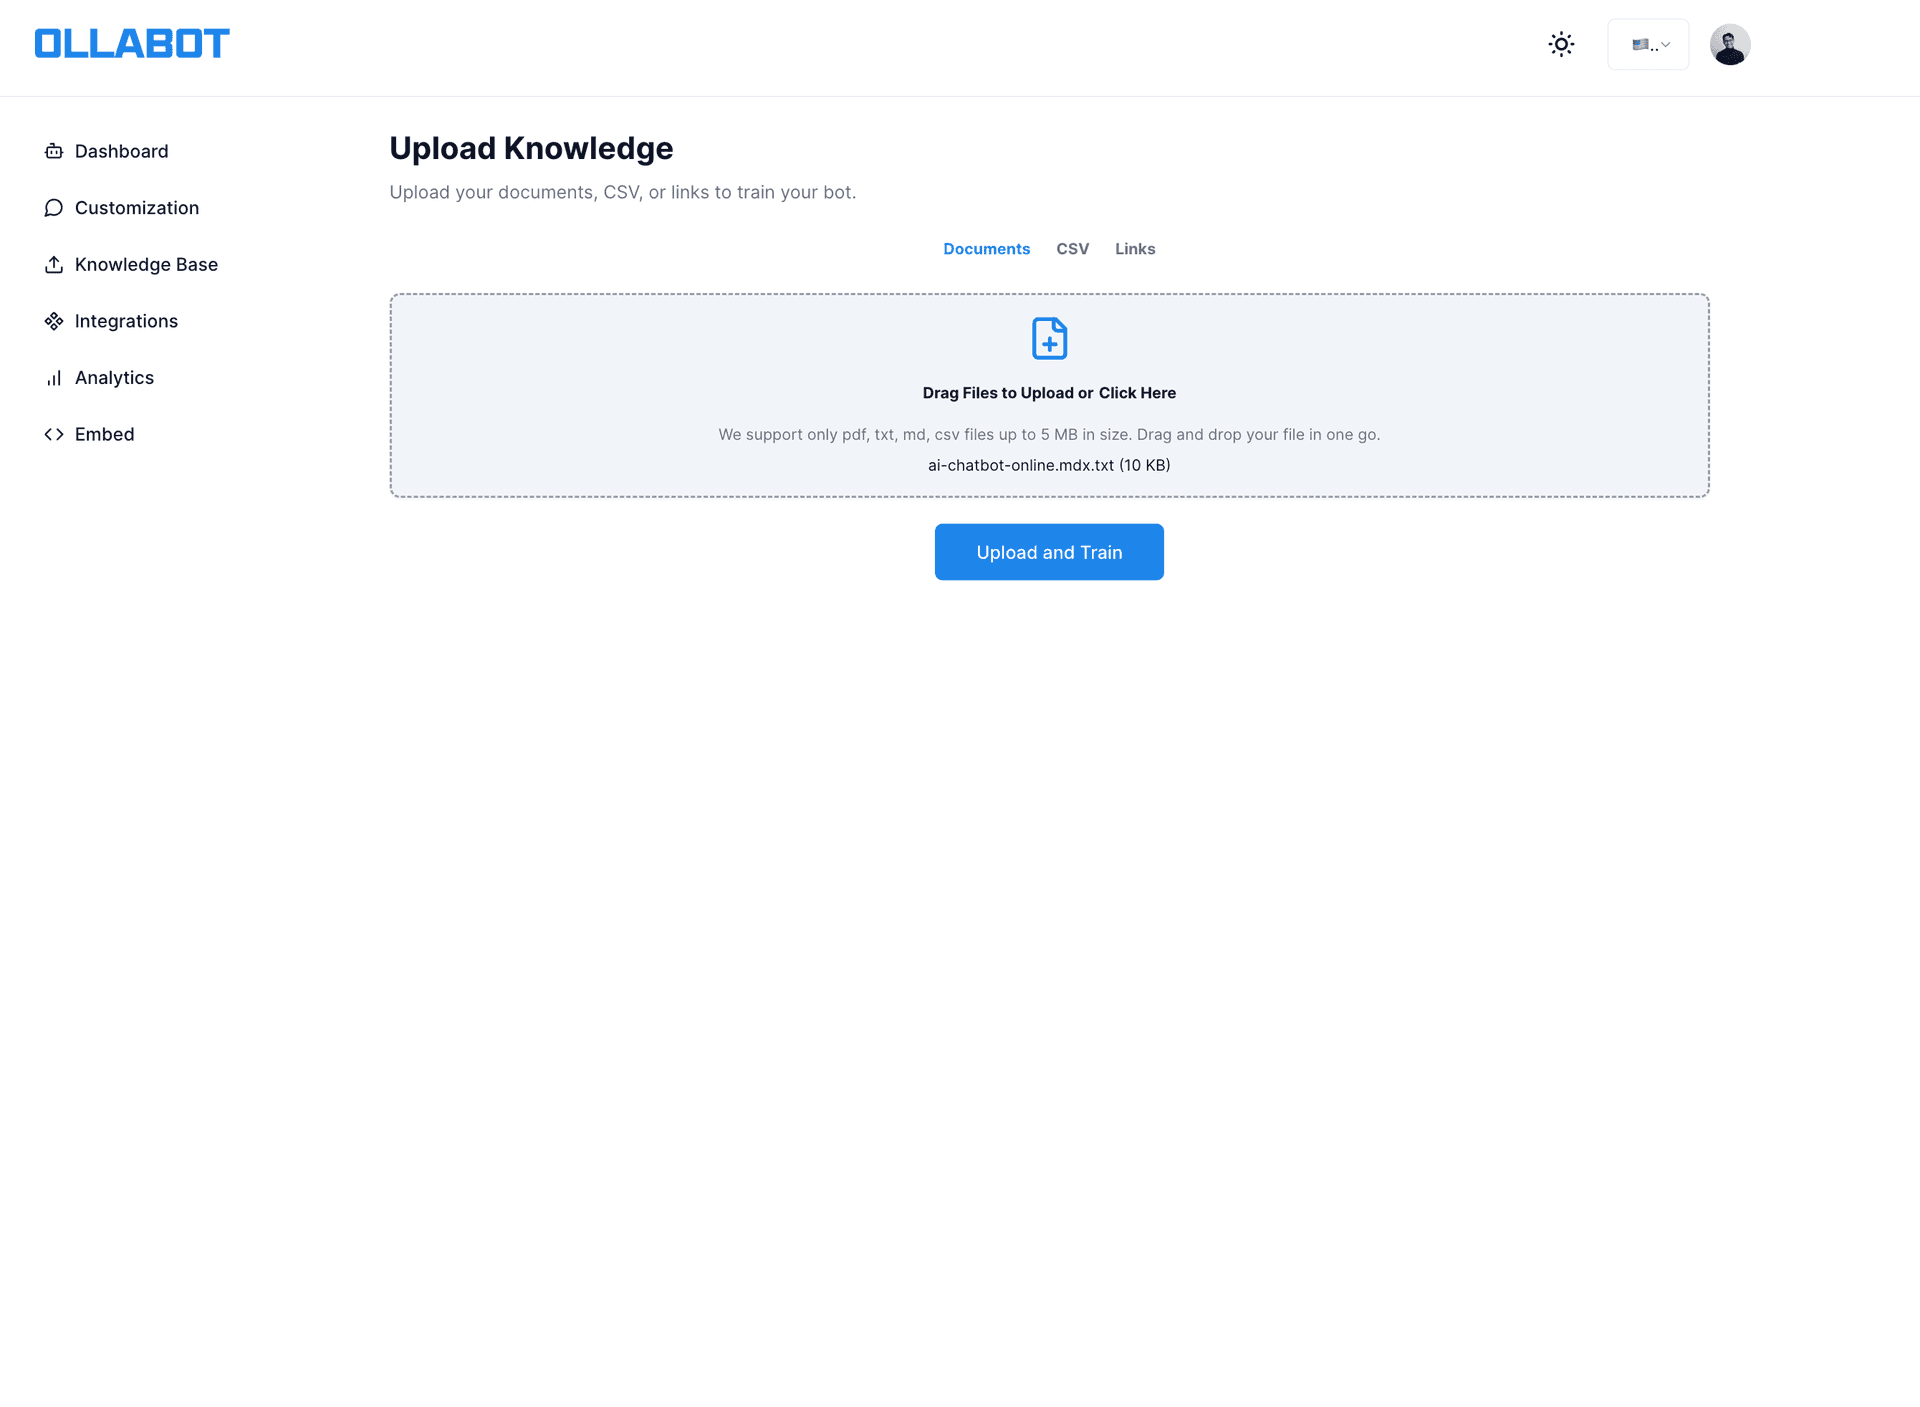
Add Links
In addition to files, you can add links to external sources that the bot can reference. This is useful for including web pages, documentation, and other online resources.
Step 6: Configure Advanced Settings
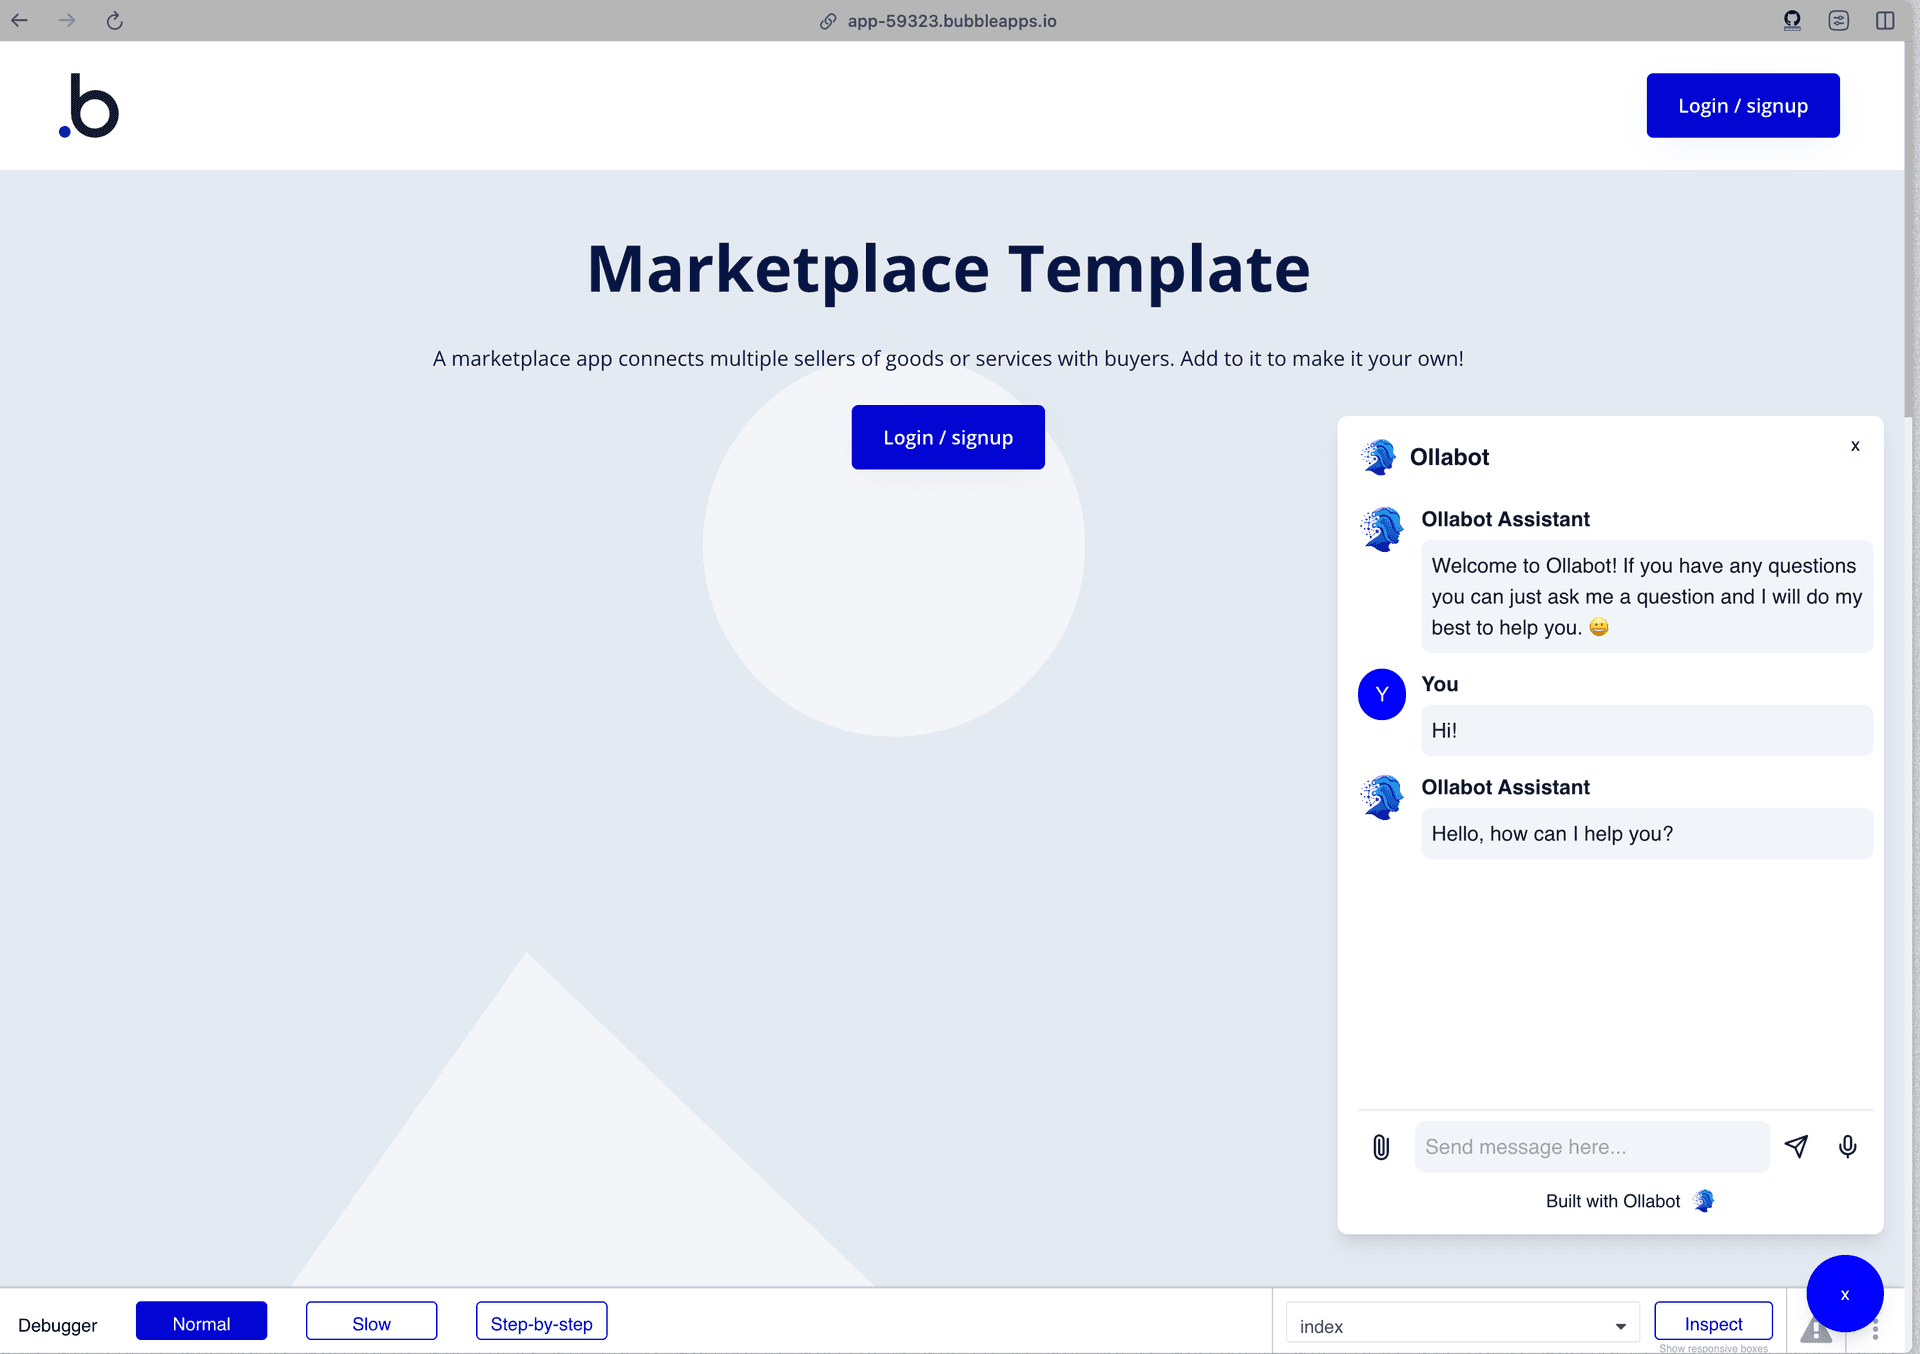
Welcome Message
Set a welcome message that users will see when they first interact with your bot. Make it welcoming and informative.
Creativity
Adjust the creativity setting to control the variety of the bot's responses. This ranges from 0 to 1, with higher values making responses more varied and creative.
Tone
Define the tone of the chatbot to match its personality and style of communication. Possible values include:
- Professional/Academic
- Casual/Friendly
- Instructive/Authoritative
- Conversational/Engaging
- Inspirational/Motivational
Step 7: Deploy Your Bot
Once you are satisfied with the settings and performance, deploy your bot by clicking the "Deploy Bot" button. This will make the chatbot live and ready to interact with users.
Conclusion
Creating a chatbot with Ollabot is straightforward and customizable. Use the options available to tailor your bot to your brand and engage users effectively.
For further customization and integration, refer to the Ollabot Documentation.